Keep reading for a summary of the bathtub replacement process. This job is possible for an advanced do-it-yourselfer. However, consider all that goes into replacing a tub before you start the process. Unfortunately, a lot can go wrong. Your best option is to hire a professional bathroom remodeler.
Contents
Step 1: Removing the Existing Tub
You’ll need access to the water supply valve to start your project. This will require you to cut a hole (using a reciprocating saw) in the wall of the adjacent room to expose the pipes. Of course, you will need to patch these holes and repaint the wall when the project is complete.
Once the water is shut off, you’ll need to remove the existing tub’s faucet, tub drains, and drain shoe. At a minimum, you will need a screwdriver and pipe wrench to complete this part of the project. You will probably also need a drain hole removal tool, which you can find at your local hardware store.
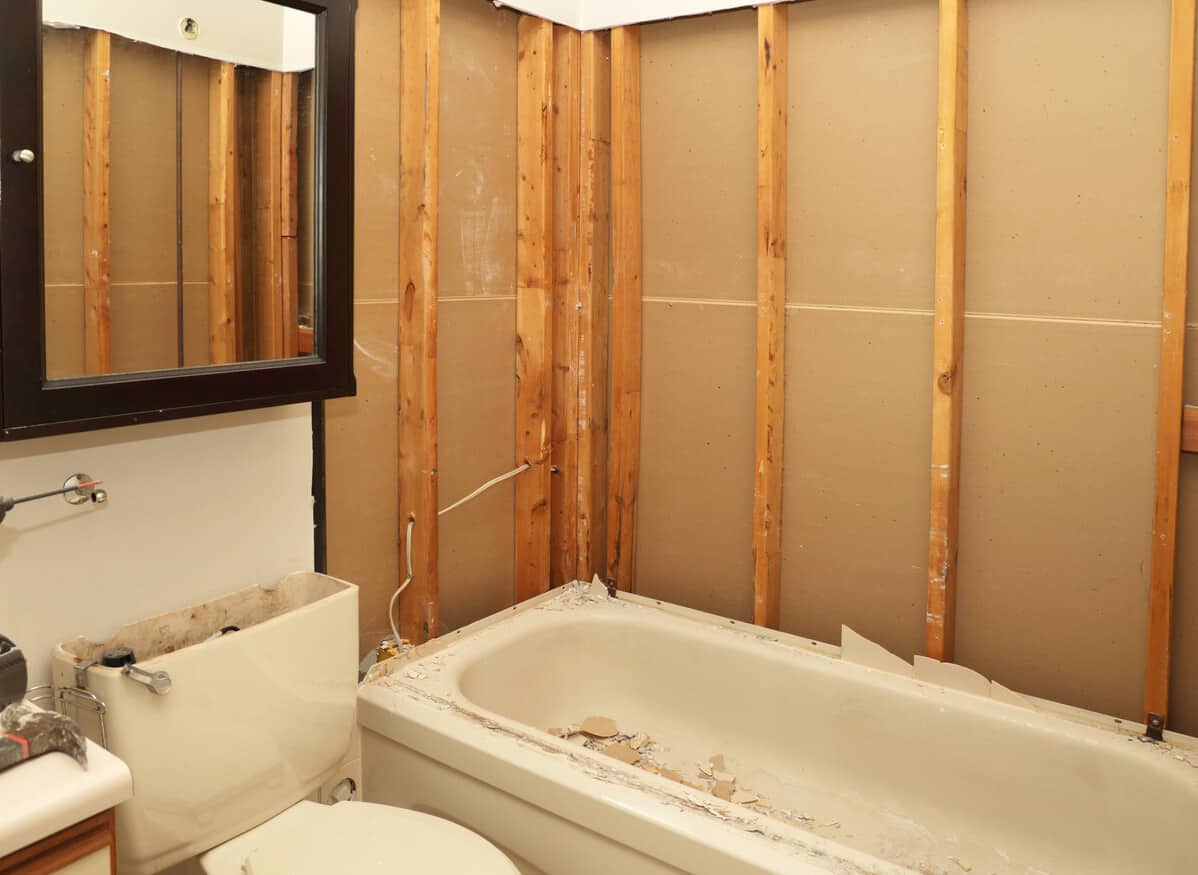
When the drain pipes (including the tub and overflow drain) are removed from the old tub, you’ll need to remove the tub surround and drywall around your old tub until the studs are exposed. This demolition project will give you an excuse to buy a pry bar. The process is dusty (to say the least). And, of course, you’ll need to plan how to replace the tub surround when the new tub is installed.
Once the old bathtub is accessible, grab the tub from the side opposite the drain and lift it. The tub removal process is a heavy and awkward job. Make sure you don’t break the drain pipes during the process. You’ll also have to figure out how to dispose of the old bathtub properly.
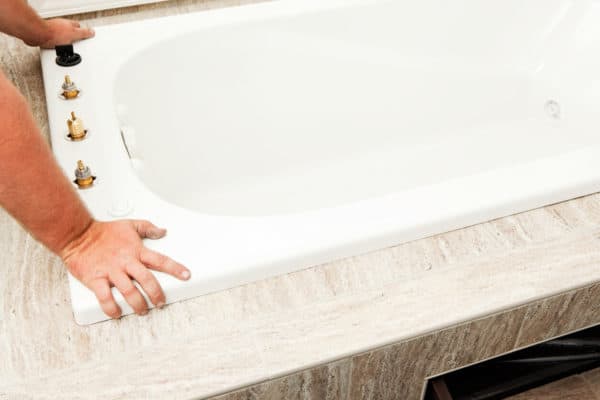
Step 2: Prepare the Area for the New Tub
Even if you purchase a new bathtub the same size as the old one, you will need to complete prep work before the new tub can be installed. This may require another trip to your local hardware store for floor leveling compound.
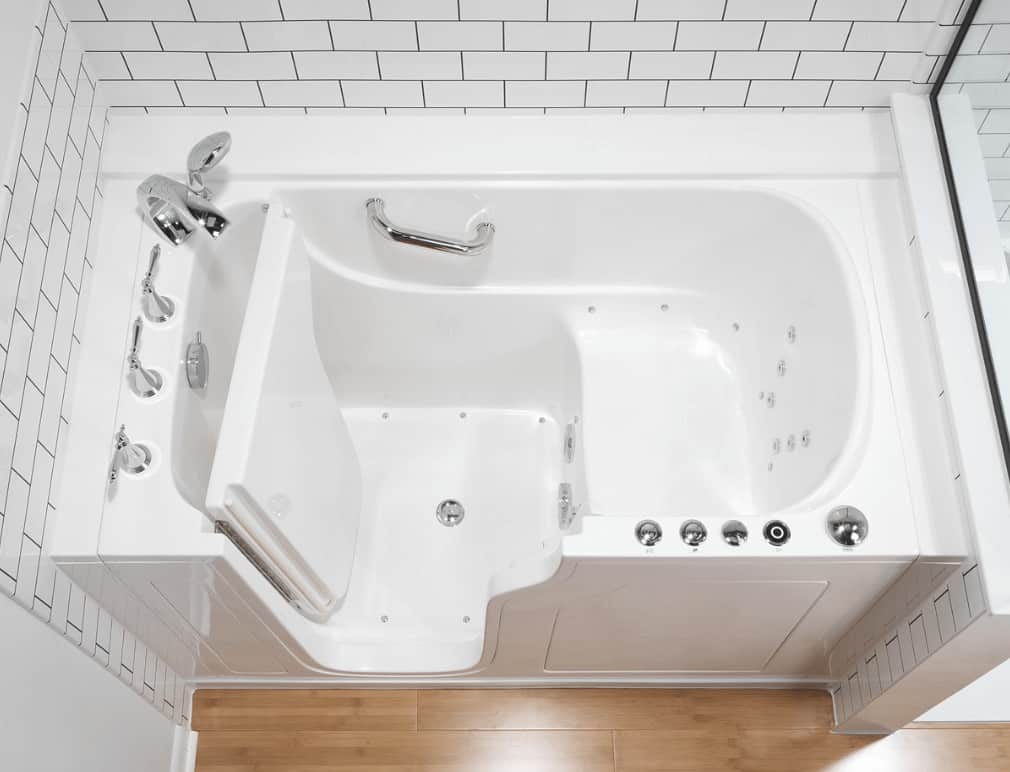
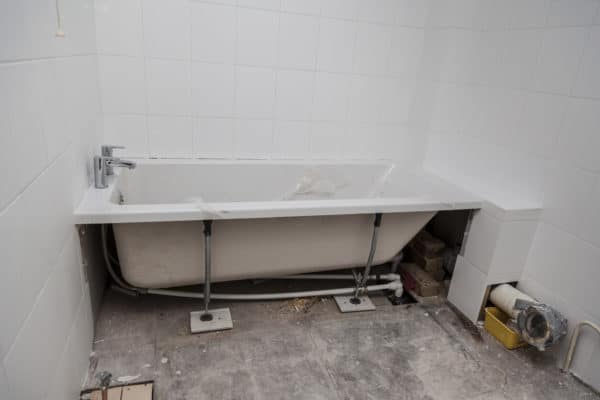
Step 3: Install the New Tub
You may only know if you have correctly prepared the new tub space once the bathtub is installed. Cross your fingers for luck and place the new tub, so that the flanges rest on the ledger boards. This process requires at least two people, as you will need to feed the drain pipe through the holes in the heavy tub without breaking it. Finally, dry-fit the drains and drain shoe on the new bathtub.
Make sure the tub is level before securing it to the wall. Also, ensure that the tub is in complete contact with the floor so the ledger boards aren’t supporting the entire weight. Finally, slowly and carefully screw or nail the tub flange to the wall studs, so you don’t accidentally crack the tub.
Step 4: Complete the Plumbing Process
This step takes more than a container of plumber’s putty and a pair of channel lock pliers. Plumbing requires knowledge, skill, and patience. And if your tub is not plumbed properly, a slow leak may eventually damage the surrounding structure.
Once the new tub spout is installed and the tub is plumbed, run the water and check for leaks.
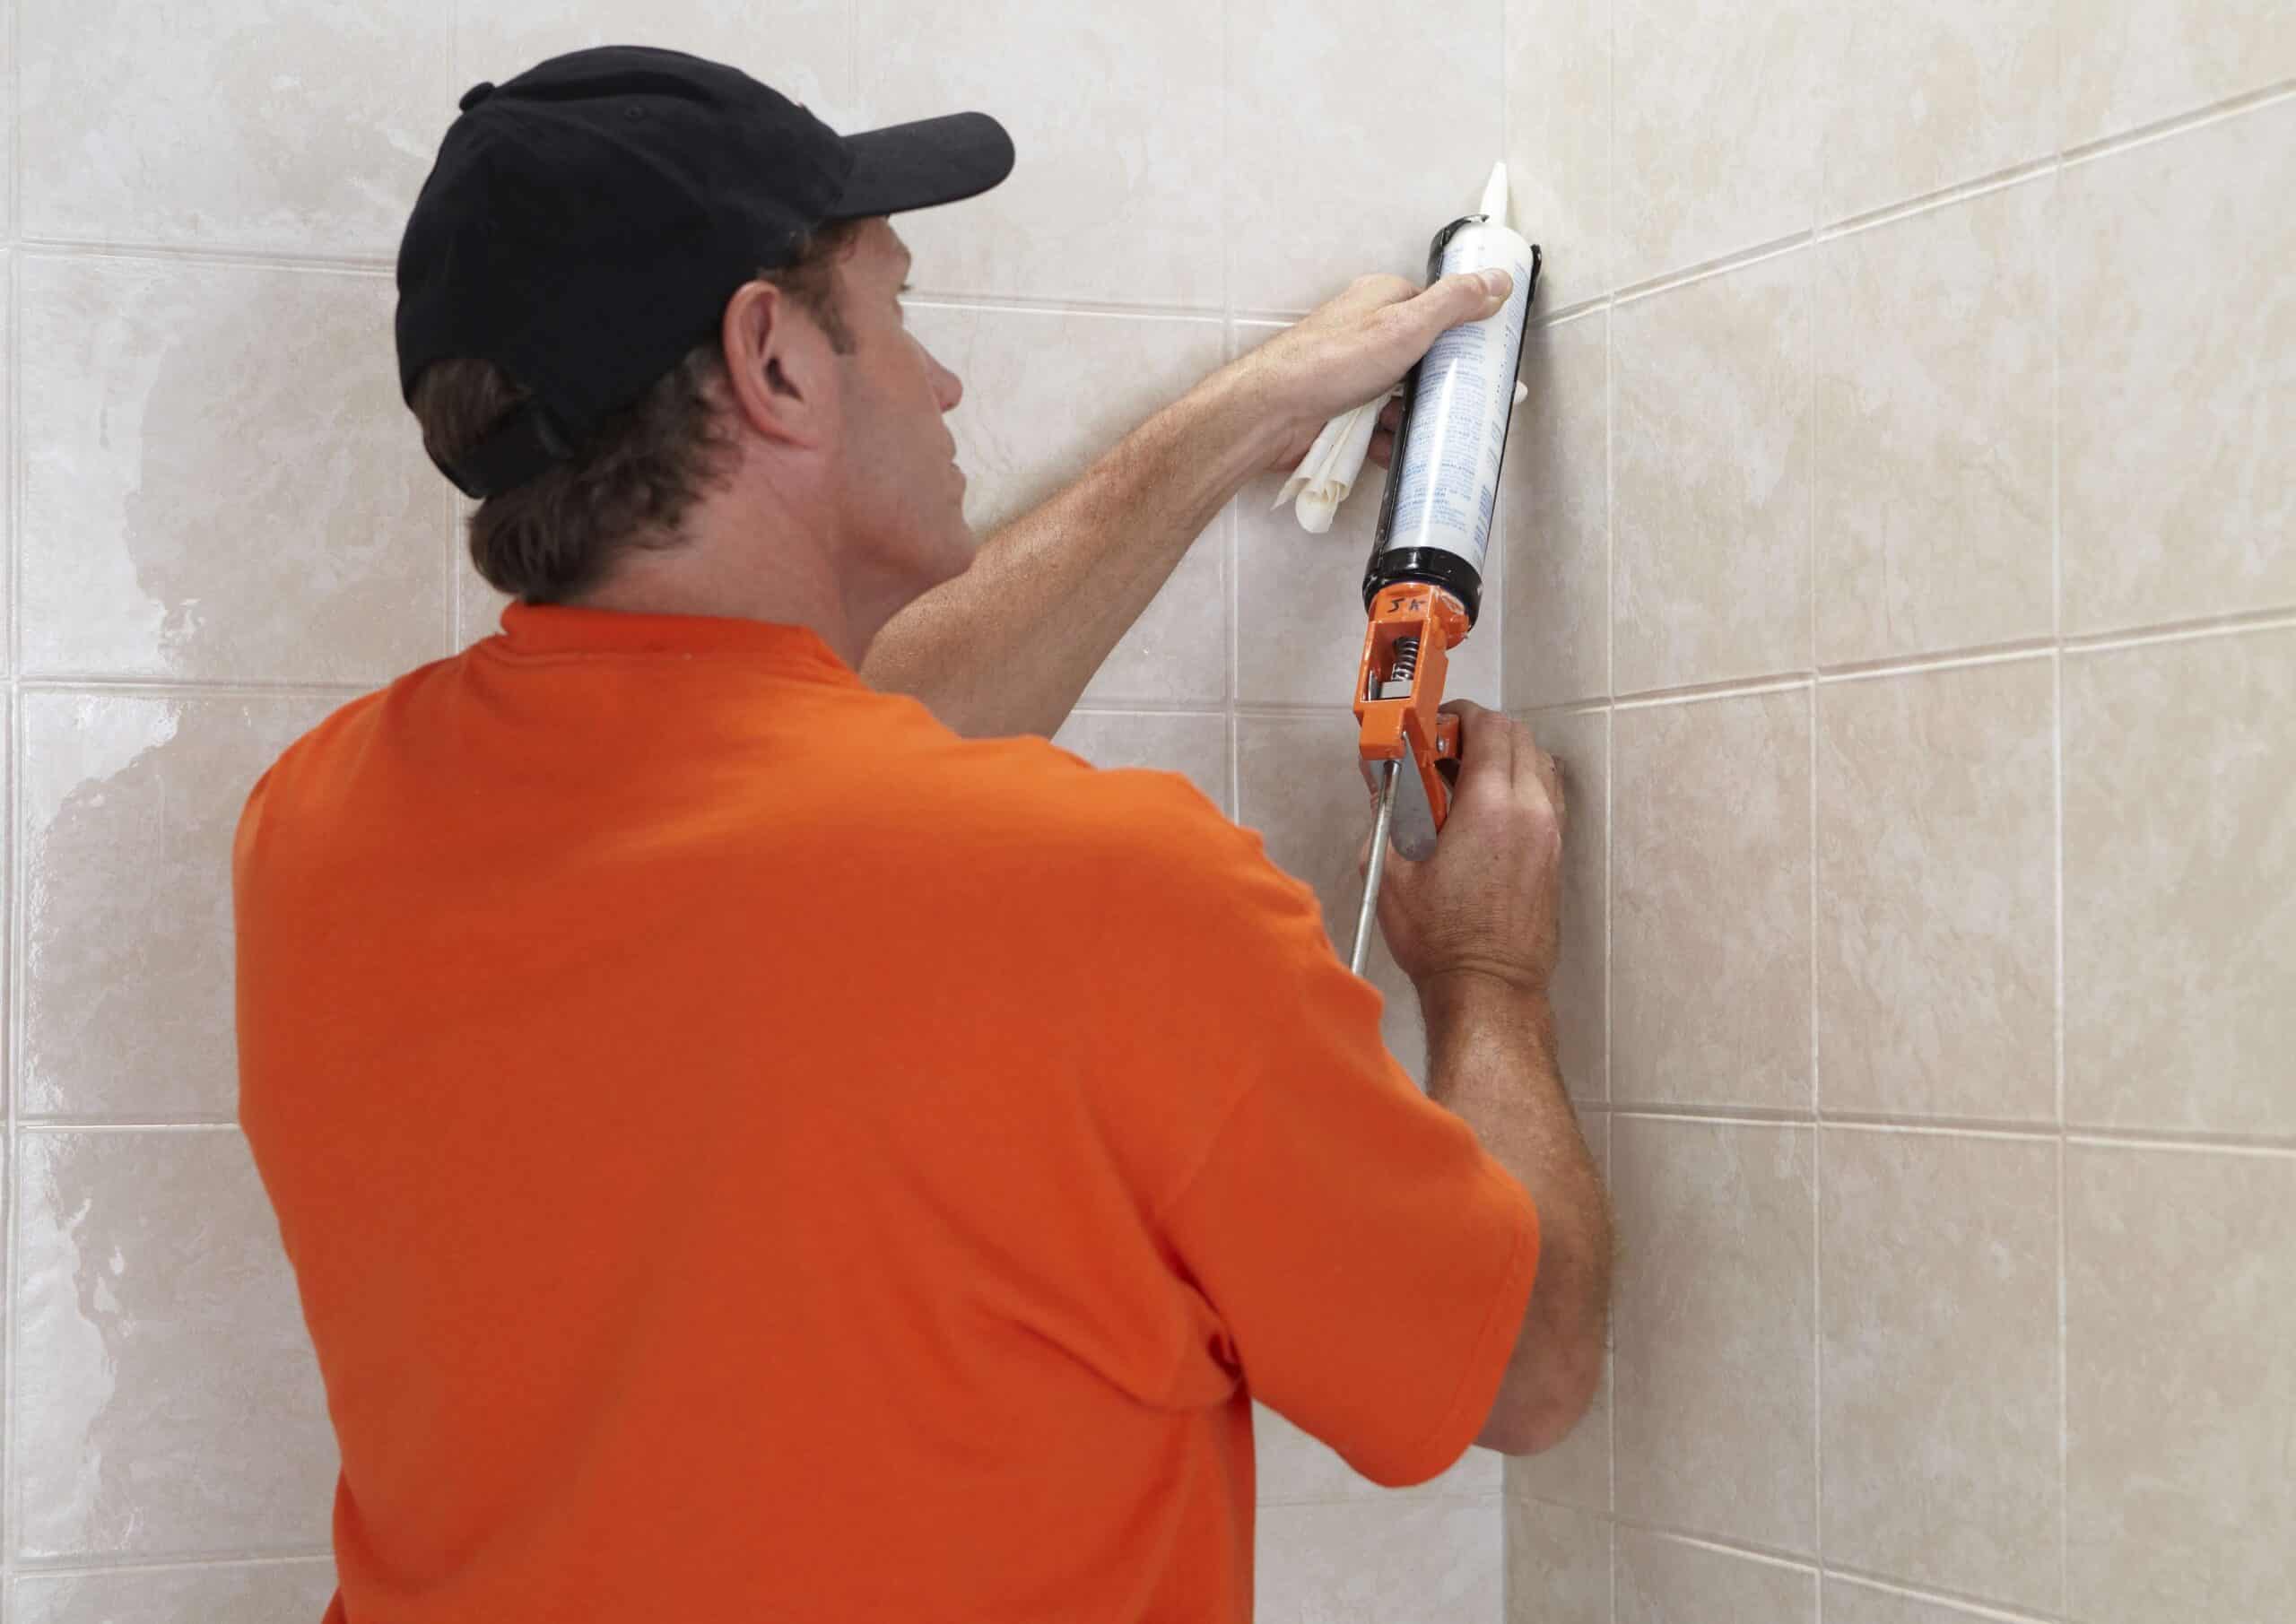
Step 5: Finish the Tub Surround
Are you a sheetrock expert? Let’s hope so. Because after you install a bathtub, you’ll need to replace the surrounding wall surface with new sheetrock (as well as the hole you had to cut to gain access to the pipes.)

Replacing a Tub? Our Bathroom Contractors Can Help!
Have you bitten off more than you can chew by committing to replacing a tub? Don’t feel bad. Do-it-yourself websites label bathtub replacement as an advanced project – requiring up to five days of work, in-depth knowledge of plumbing, and specific tools.
The good news is that Woodbridge Shower & Bath can update your bathtub in one day. Our certified installers will ensure your new bathtub fits perfectly in the space, and a full warranty covers all the work they perform.
If it’s time to replace a bathtub in your home, your first and only step should be to contact Woodbridge Shower & Bath.